Field Type
When you need to change the type of a custom field in Pipedrive, the best approach is to recreate the field with the desired type and transfer the existing data to the new field using the “Pipedrive System ID" feature. Follow the steps below to ensure a smooth transition.
Steps to Change a Custom Field Type
Create a New Custom Field:
- Start by creating a new custom field with the correct type in your Pipedrive account.
- Navigate to Settings > Custom fields and select the category for the custom field you wish to add.
Consider renaming the old custom field to include the word “old” to avoid confusion during the data transfer process.
Exporting Your Data:
- Go to the list view (deals, people, or organisation) where the custom field is located.
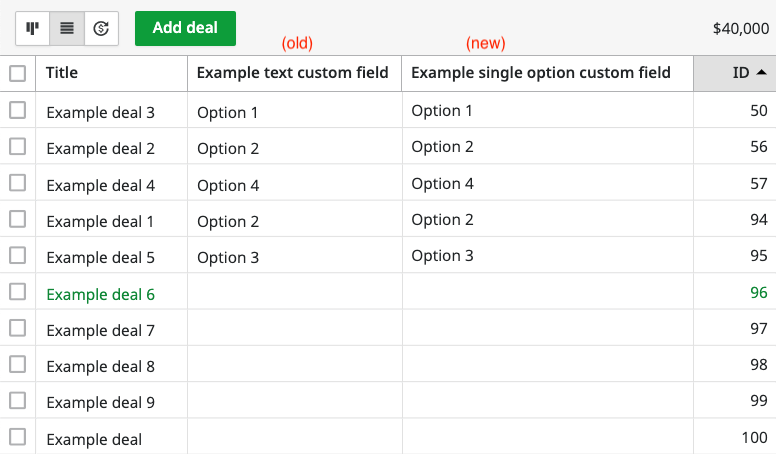
- Ensure the following columns are included in your list view:
- Name/Title
- Old custom field
- New custom field
- Item ID (deal, person, or organisation)

- Export the list to a spreadsheet.
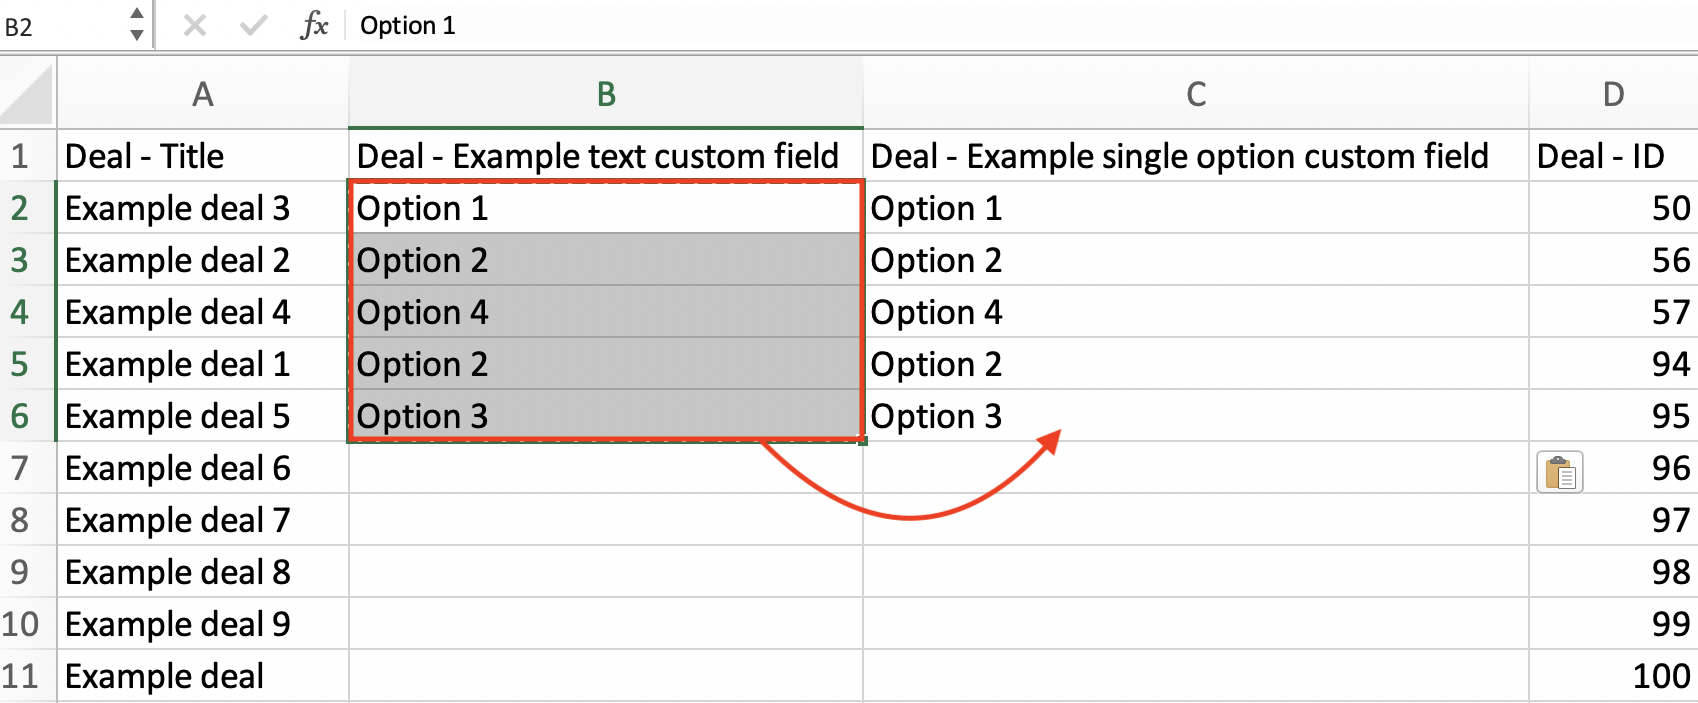
- In the exported spreadsheet, copy all values from the old custom field into the cells under the new custom field.

Importing Your Updated Data:
- Save the updated spreadsheet.
- Import the spreadsheet back into Pipedrive by clicking the "..." in the bottom left of your screen, then selecting Import data > From a spreadsheet. Learn more about importing here.

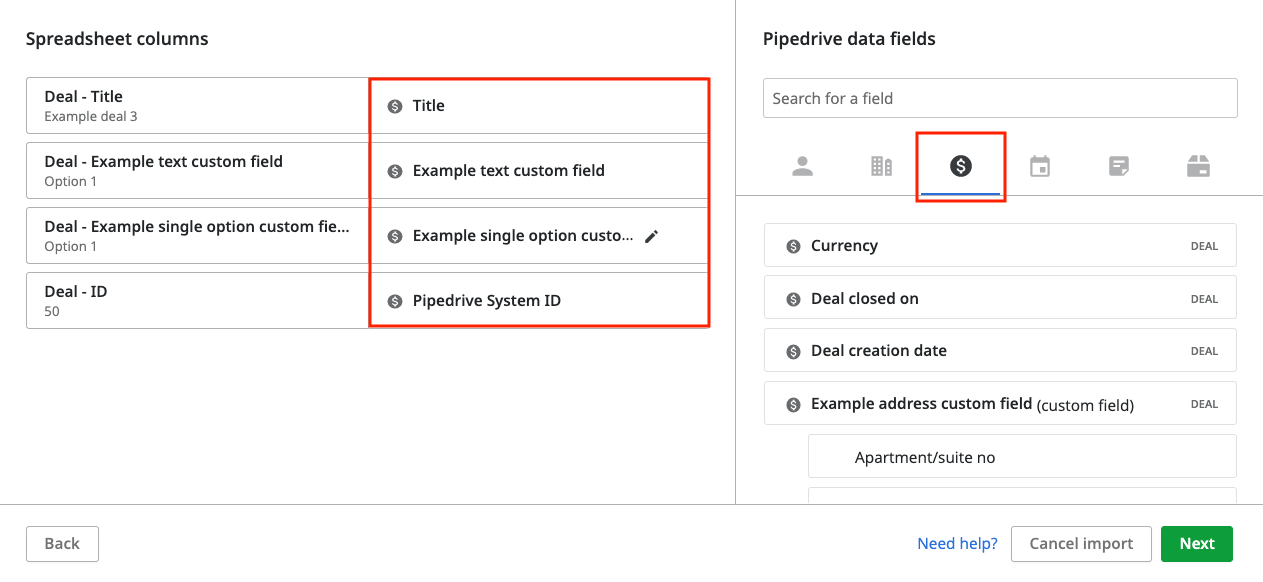
- During the mapping step of your import, ensure all columns in your spreadsheet are mapped to the correct fields in your Pipedrive account.
- Proceed with the import by clicking the Next button.

Finalising the Process:
- Once you confirm that the information has successfully transferred from the old custom field to the new custom field, you can delete the old custom field to avoid clutter
By following these steps, you can efficiently change the type of a custom field in Pipedrive without losing any valuable data.
.png?width=688&height=359&name=Why%20Businesses%20Should%20Move%20to%20Automation%20(8).png)
Unlock the full potential of Pipedrive with our expert training sessions. Learn tips and tricks that will save you time and increase your productivity. Limited spots available - book your session now!
