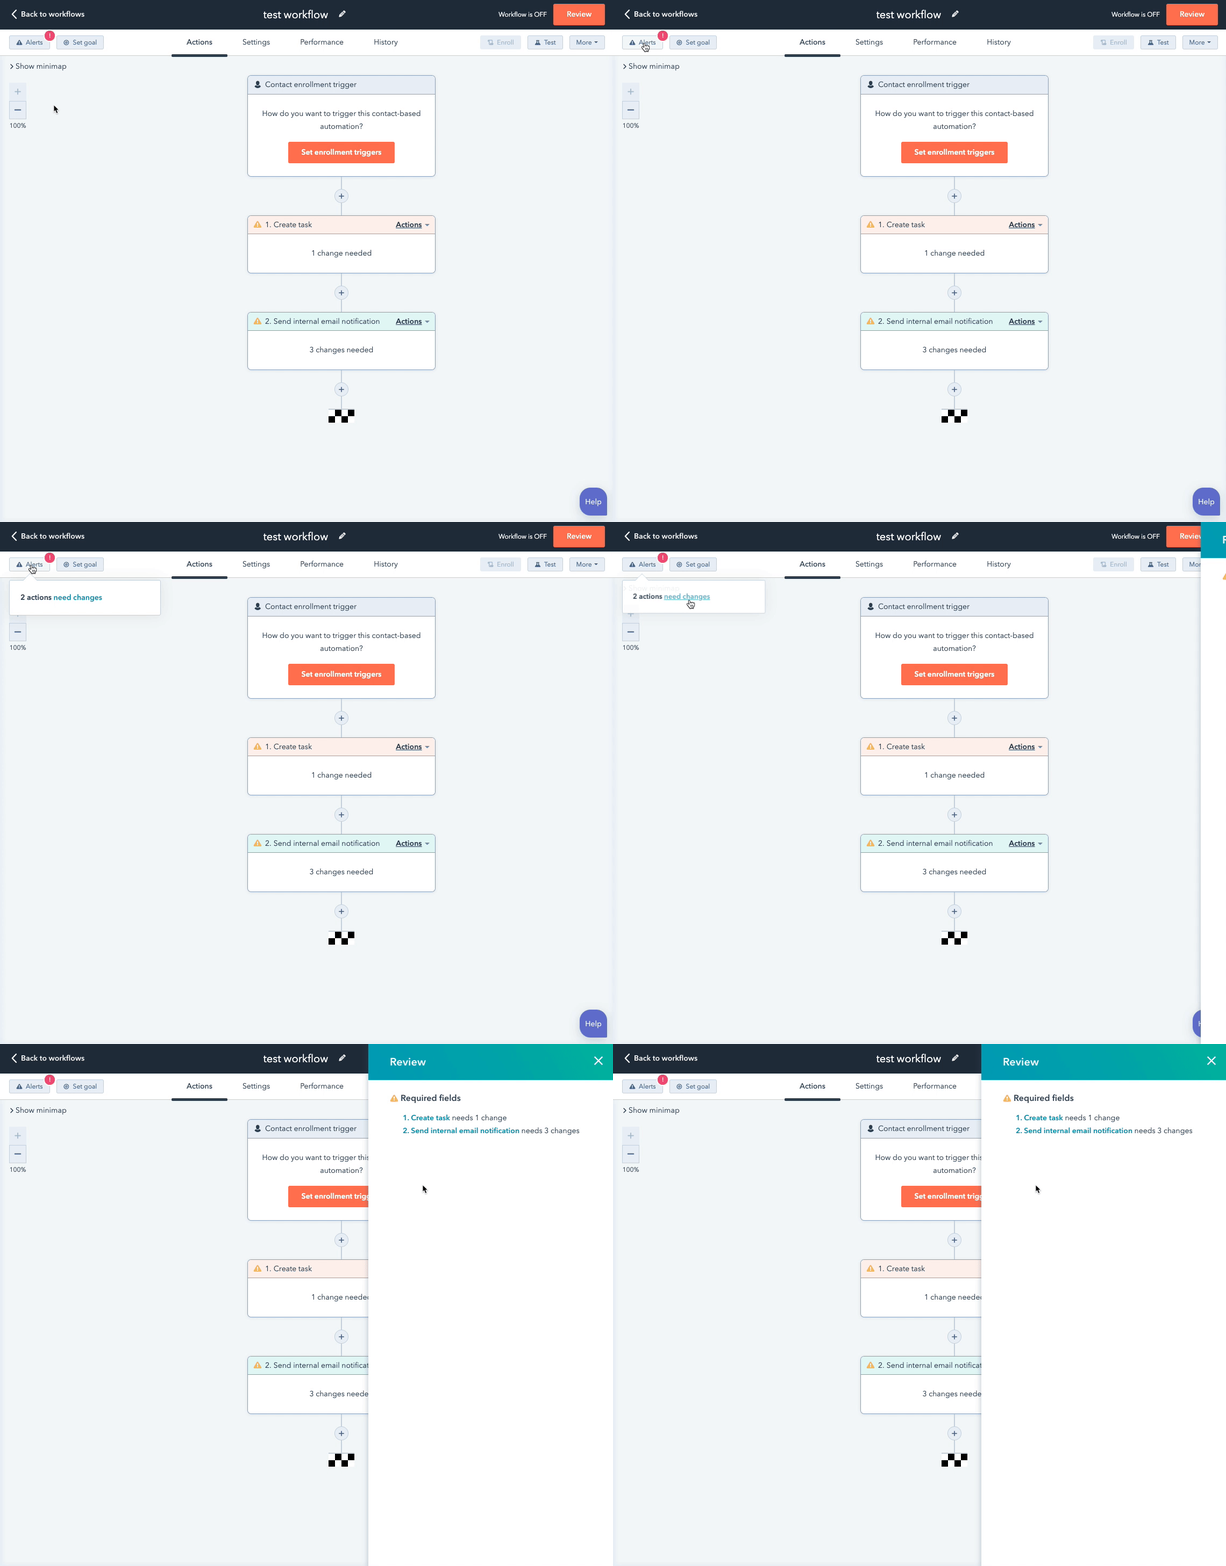
Setting up a workflow for lead capture in HubSpot is a strategic way to automate the process of identifying, nurturing, and converting leads. Here's a step-by-step guide on how to set up a lead capture workflow in HubSpot:
Step 1: Log into Your HubSpot Account
Log in to your HubSpot account, and ensure you have the necessary permissions to create and manage workflows.
Step 2: Navigate to Workflows
In your HubSpot dashboard, click on the "Automation" tab on the left-hand menu. Then, select "Workflows" from the dropdown menu.
Step 3: Create a New Workflow
Click the "Create workflow" button to start setting up a new workflow. You'll be prompted to choose the type of workflow you want to create. In this case, select "Start from scratch."
Step 4: Define Your Workflow's Objective
Give your workflow a descriptive name that reflects its purpose. For example, "Lead Capture Workflow." Provide an optional description to help you and your team understand its purpose.
Step 5: Set Enrollment Triggers
Choose the criteria that will trigger a lead's enrollment in your workflow. Common triggers for lead capture workflows include form submissions, website visits, or specific lead behaviours. Click on the "+" button to add conditions. For example, if you want to capture leads who fill out a specific contact form, you can select "Contact property" and choose the form name or form submission as the trigger.

Step 6: Set Enrollment and Re-enrollment Rules
Determine when leads should be enrolled in the workflow. You can choose to enrol leads once, multiple times, or based on specific criteria. For lead capture, it's usually best to enrol leads once. Also, set the re-enrollment criteria if applicable.
Step 7: Create Your Workflow Actions
Now, it's time to define what happens once a lead is enrolled in your workflow. Common actions for lead capture include sending welcome emails, adding leads to specific lists, and assigning lead scores. To add actions, click the "+" button in the workflow, select "Actions," and choose the actions you want to perform.
For example, you can add an action to send a welcome email to newly captured leads. Click on "Send email," and select the email template you want to use.
Step 8: Build Out Your Workflow
Continue to add actions to your workflow that guide leads through the lead capture process. This may include lead nurturing emails, additional form submissions, or any other interactions relevant to your goals. Be sure to customise the timing of each action to create a well-structured workflow.
Step 9: Review and Test Your Workflow
Before activating your workflow, review it thoroughly to ensure all actions are correctly configured. Test the workflow with test leads to make sure it functions as intended.
Step 10: Activate Your Workflow
Once you're satisfied with your lead capture workflow and have tested it successfully, click the "Review" button and then select "Activate" to make it live.
Step 11: Monitor and Optimise Your Workflow
After your workflow is active, monitor its performance using HubSpot's analytics and reporting tools. Keep an eye on key metrics like conversion rates, email open rates, and lead progression. Make adjustments and optimisations as needed to improve the workflow's effectiveness over time.
Setting up a lead capture workflow in HubSpot can be a highly effective way to automate your lead generation efforts and ensure that leads are nurtured and converted efficiently. With the right strategy and ongoing optimisation, you can drive more high-quality leads to your sales funnel and ultimately grow your business.
.gif?width=800&height=400&name=automation-4nd-newsletter%20(1).gif)
